




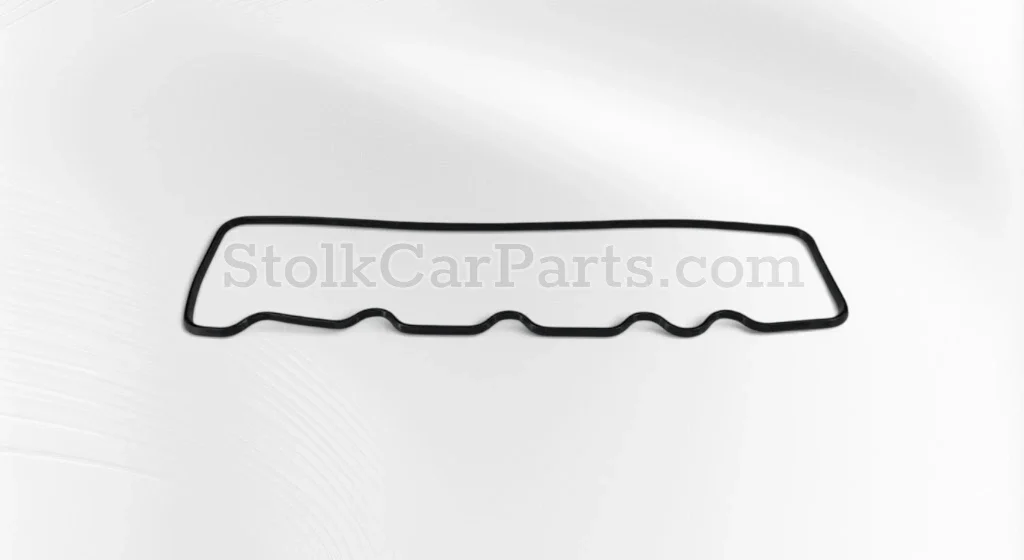
Manual – valve cover gasket installation tips
Working cleanly
Always work as cleanly as possible when replacing a valve cover gasket. Before removing the valve cover, first carefully clean the area around the valve cover. This prevents dirt from entering the engine during the work.
Remove and clean
Remove the valve cover and the old valve cover gasket. Carefully clean the sealing surfaces and remove all residue of the old gasket and any contamination.
Also check the valve cover for damage and deformation. A damaged or deformed valve cover can cause the new gasket to not seal properly and oil leakage to occur again.
Oil leak due to a hardened valve cover gasket
A valve cover gasket can harden over time due to age and the high temperatures of the engine. As a result, the gasket can lose its sealing properties and oil leakage may occur around the valve cover.
At the M112 M113 M116 and M117 In engines, we regularly see oil getting onto the spark plugs and spark plug wires. This is because the spark plugs are mounted above the manifold and the engine has a V-shape. As a result, the ignition can misfire. If this continues for too long, it can eventually lead to engine damage.
What is the left and right side of the engine?
With valve cover gaskets, a distinction is made between the left and right sides of the engine:
Left: for European and American cars, this concerns the driver's side
Right side: for European and American cars, this concerns the passenger side
Installation of the valve cover
Install the new valve cover gasket and, if applicable, also replace the sealing rings of the mounting bolts.
Carefully replace the valve cover. First, lightly hand-tighten the mounting bolts, then tighten them evenly and crosswise using a suitable torque wrench to the torque specified by the manufacturer.
Overtightening or uneven tightening can cause deformation of the valve cover, damage to the gasket, and oil leakage.
Additional point of attention M112 and M113
At the M112 and M113 engines When replacing the valve cover gaskets, the crankcase ventilation seal on the valve covers must also be renewed. Liquid gasket is used for this purpose.
In our workshop, we use this for Dirko HT grey liquid gasket.
Inspection after assembly
After installation, let the engine run for approximately 10 minutes and carefully check for any oil leakage along the valve cover.
We recommend changing the engine oil after the work to remove any dirt that may have entered the engine during the work.
Check before purchase and assembly
Always check before purchase and installation whether the part is suitable and equivalent based on photos, description, and specifications; installed or used parts cannot be returned.
Important
This installation advice has been compiled with the greatest possible care and is intended solely as a general technical guideline. The official workshop manual and the manufacturer's specifications for the relevant vehicle and engine type are always the guiding principles.
Always check the correct assembly procedure, adjustments, and tightening torques for the specific motor before commencing work. We accept no liability for damage resulting from incorrect assembly, improper use, or the application of incorrect or incomplete technical information from this assembly advice.
 Account
 categories
 Car filter
 To search
 Top
Top