




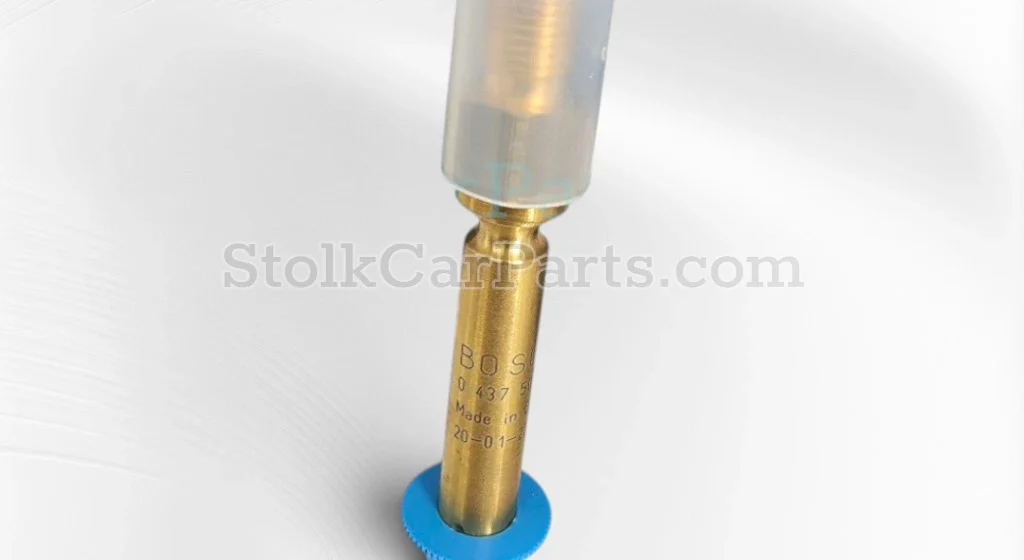
Manual for replacing injectors – K-Jetronic, KA-Jetronic and KE-Jetronic
Important information regarding purchase and replacement
Injectors for K-Jetronic, KA-Jetronic, and KE-Jetronic are an important part of the mechanical injection system. These injectors have a relatively simple technical design but contain precision parts that wear out over time. Therefore, K-Jetronic, KA-Jetronic, and KE-Jetronic injectors are wear parts that must be replaced in a timely manner on vintage and classic cars.
Inside each injector is a small spring that ensures the injector opens and closes at the correct moment. Additionally, there is a small strainer inside designed to retain fine dirt. Because this strainer cannot be removed without completely disassembling the injector, and because injectors cannot be cleaned against the flushing direction, these injectors are practically difficult to clean. Replacement is therefore usually the best and most reliable solution.
1. Always work cleanly and carefully
Prevent dirt, dust, or other contaminants from entering the injection system.
Carefully clean the area around the injectors and connections before you begin disassembling.
Ensure that tools and parts are clean during the work and prevent dirt from entering open connections and fuel lines.
Never overtighten fuel lines. Overtightening can damage lines, fittings, or connections.
2. Always check the fuel tank for rust or contamination first.
Rust particles or dirt in the fuel tank can immediately damage the new injectors. Damage caused by rust or contamination from the fuel system is not covered by the product warranty.
Therefore, always check the fuel tank and fuel lines for contamination, rust, and damage first. Clean or replace them if necessary.
3. Always replace the fuel filter – gasoline filter
New injectors must never be installed behind an old, dirty, or clogged fuel filter.
A clean fuel filter helps prevent immediate contamination of the new injectors.
4. Always replace injector sleeves and mounting rubbers
We recommend always replacing the injector sleeves and mounting rubbers when replacing injectors.
These parts can harden, crack, or lose their sealing properties due to age and temperature. Poor or hardened injector sleeves and mounting rubbers can introduce false air, which can lead to poor engine performance and improper tuning.
Blow through the lines to the injectors at least once before installation and check that they are clean. Ensure that no dirt or other contaminants remain in the lines.
5. Check for leaks after installation
Start the engine after installation and carefully check all connections for fuel leaks.
Check that all fuel lines seal correctly and without problems, and also check for any false air leaks.
Gasoline leaks must always be repaired immediately.
New injectors can sometimes stick.
It sometimes happens that new injectors may stick slightly at first.
In practice, this problem usually resolves itself after short use.
Test injectors before installation
Our advice is to always test new injectors before installation.
In our own Mercedes classic garage, we therefore always test the spray pattern of new injectors before they are installed.
For a small additional fee, we can pressure test the injectors for you before shipment, so you know that they open and close correctly and have the correct flow rate.
Advice
Follow all prescribed procedures and have the work carried out by a recognized specialist to ensure correct installation and, consequently, the proper functioning of the high-quality replacement parts.
Incorrect installation or minor contamination can directly lead to poor functioning of the injection system.
Returning injectors
Used injectors cannot be returned or exchanged. An injector that has been installed or used can no longer be sold as an unused part. This also applies if an injector has been installed or used for only a short time.
More information and videos
On the website of our Mercedes classic car garage StolkBalkbrug.nl you will find extensive technical information about injection systems and their various components.
On our own YouTube channel In addition, you will find practical instructional and explanatory videos about K-Jetronic, KA-Jetronic, and KE-Jetronic systems. These videos provide additional background information and help you better understand the operation of the injection system.
Visit our website: StolkBalkbrug.nl
Have work carried out
Are the diagnosis, testing, installation, and adjustment of the injection system too specialized to carry out yourself? Then you can have the entire process, from diagnosis to repair and adjustment, performed in our workshop. Mercedes classic car garage in Balkbrug.
Important
This installation advice has been compiled with the greatest possible care and is intended solely as a general technical guideline. The official workshop manual and the manufacturer's specifications for the relevant vehicle and engine type are always the guiding principles.
Always check the correct assembly procedure, adjustments, and tightening torques for the specific motor before commencing work. We accept no liability for damage resulting from incorrect assembly, improper use, or the application of incorrect or incomplete technical information from this assembly advice.
 Account
 categories
 Car filter
 To search
 Top
Top